
It’s a common scenario for many homeowners: one day, your new sod is lush, fresh, and green, and the next, it’s starting to look dry or stressed. Brown edges, patchy spots, and a dull appearance can be alarming—especially after investing time and effort into your lawn.
But don’t worry! This is often a normal part of the establishment process. Like any plant, grass sod undergoes a period of shock when transplanted to a new environment. It takes time to adapt, establish roots, and regain its vibrancy. Additionally, inadequate watering is a frequent culprit. If you think your sod is getting enough water, it might need even more—especially during its initial establishment period, which lasts about 10–14 days.
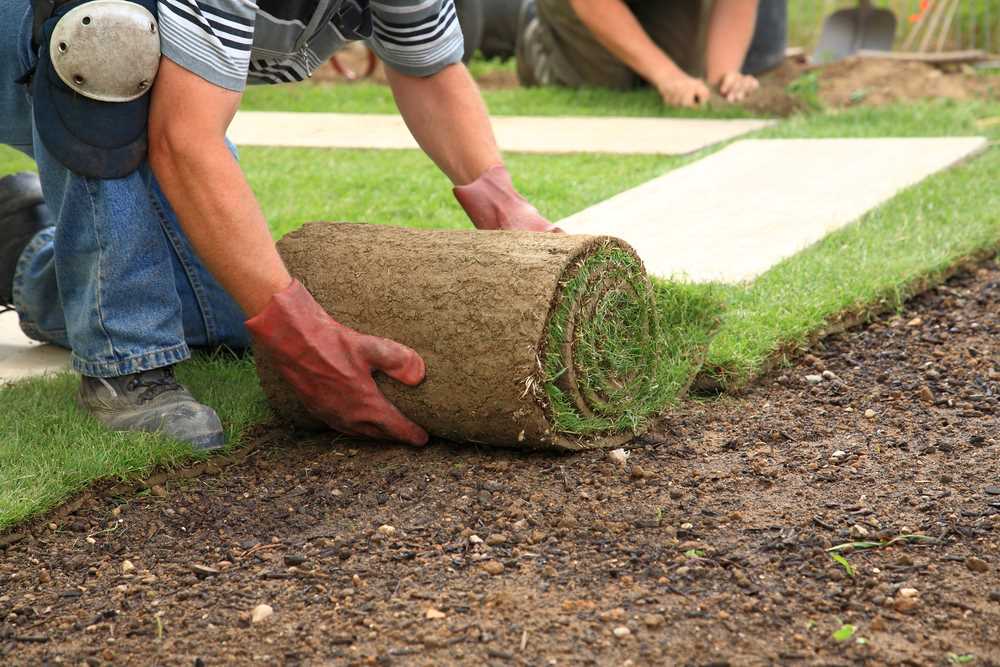
What to Expect During Sod Installation
The key to a successful new sod installation lies in proper preparation and understanding what’s expected. New sod often undergoes what is called a shock period when transplanted. This is due to the grass being cut at the sod farm and transferred to your lawn—a process that disrupts its root system. During this adjustment stage, browning on the edges or surface is common. It may look unsightly, but it doesn’t necessarily mean your sod is dying. Proper installation sets the foundation for successful root establishment and vibrant growth. If you haven’t already, check out our article How to Lay Sod for a step-by-step guide on preparing your lawn and installing sod the right way.
Sod Needs Time to Root in and Establish Itself
Despite its lush, green look, sod needs time to root in. It usually takes 3–4 weeks for the sod to establish healthy roots in its new environment. During this time, you may see some top-layer browning as the sod focuses its energy on developing a strong root system beneath the soil. This is normal and part of the process.
To check progress, gently tug on a corner of the sod after about two weeks. If it resists, the roots are beginning to take hold. If it lifts easily, it may require more time or water to establish. Patience and proper care are critical during this period to ensure your sod transitions successfully into a thriving lawn.

New Sod Care: Tips for a Healthy Lawn
Proper care during the first few weeks after installation ensures your sod thrives.
First Two Weeks
-
Watering: Water your sod immediately after installation to saturate the soil to a depth of 4–6 inches. For the first two weeks, keep the sod consistently damp by watering 2-4 times a day, depending on the season. Check the moisture by lifting a corner of the sod to see if the soil beneath is wet but not waterlogged.
-
Avoid Foot Traffic: Stay off the sod to prevent compaction and depressions. This allows the roots to be established without disturbance.
-
Monitor Daily: Keep the sod from drying out. Dry patches can shrink, curl, and turn brown, which can be hard to recover.
-
Check for Even Coverage: Inspect your irrigation system to ensure all areas of the sod receive adequate water. Adjust sprinkler heads as needed.
Weeks 3 and 4
-
Taper Watering: Begin reducing watering frequency to 1–3 times daily, skipping a day between sessions if the sod isn’t drying out. By week 4, water every other day, ensuring the soil receives a deep soak each time.
-
Mowing: Grass exceeding 3.5 inches in height is a good sign that rooting is successful, often occurring by the end of the second week. This indicates your lawn is adjusting well to its new environment. Before mowing, perform a tug test to confirm the sod is securely rooted, preventing dislodging during the process. Use a sharp mower blade for clean cuts and avoid removing more than one-third of the grass height to maintain healthy growth.
Ongoing Lawn Maintenance
After the initial post-installation care, the following tips will guide you through regular maintenance to keep your new sod thriving.
1. Deep Watering: As the sod establishes deeper roots, transition to less frequent but deeper watering. This encourages root growth and reduces water dependency. For most warm-season grasses, aim to provide 1–1.5 inches of water per week, including rainfall, spread across 1–2 watering sessions. Adjust this schedule based on the weather; increase watering during hot, dry periods and decrease during cooler, rainy seasons.
2. Monitor for Stress: Provide supplemental watering if the lawn appears dry or stressed, such as showing signs of wilting or discoloration. However, avoid overwatering, which can lead to problems like fungal growth and root rot.
3. Enrich the Soil: After the first month, support healthy growth by enriching the soil with these practices:
-
Apply a Balanced Fertilizer: Choose a fertilizer formulated for your grass type and apply it according to the packaging instructions. This provides essential nutrients like nitrogen, phosphorus, and potassium, promoting strong growth and vibrant color.
-
Aerate the Lawn: Aeration helps loosen compacted soil, improving water and nutrient penetration. Perform this task once or twice a year, depending on the soil condition.
-
Topdress with Organic Matter: Spread a thin layer of compost or organic material over the lawn to improve soil quality and encourage microbial activity. This supports nutrient cycling and improves soil structure.
4. Weed Prevention and Maintenance: Keep an eye out for weeds, as they can compete with your sod for nutrients and water. Use a selective herbicide appropriate for your grass type, or remove weeds manually if they emerge. Maintaining a thick, healthy lawn will naturally suppress weed growth.

Common Issues with New Sod Installation and How to Fix Them
While some browning is normal, sometimes it signals an issue that needs addressing. Here are some common problems and their solutions:
Overwatering: Overwatering can lead to soggy soil and brown, mushy patches. If the sod looks green on top but brown underneath, cut back on watering and allow the soil to dry slightly. Avoid letting the sod dry out completely, but ensure the top layer isn’t saturated.
Uneven Watering: On the other hand, dry patches in your lawn may indicate uneven irrigation. Adjust your sprinkler system for even coverage, and consider running shorter watering cycles in overlapping zones to avoid runoff.
Poor Soil Preparation: If the soil wasn’t adequately prepared before installation, the sod may struggle to establish roots. In these cases, aerating the soil can improve conditions for root growth.
Avoiding problems with new sod starts with doing it right the first time. For more tips, check out our comprehensive guide, Troubleshooting Common Problems When Laying Sod.
Final Thoughts
New sod offers immediate, uniform coverage, making it an excellent choice for homeowners seeking a lush, healthy lawn in a shorter period than starting from grass seeds. When installed and cared for properly, sod promotes better water infiltration, reduces erosion, and allows you to enjoy your lawn sooner.
As a trusted sod farm in Central Florida, Bethel Farms takes pride in offering high-quality sod and grass solutions tailored to your needs. Our selection includes warm-season grasses ideal for the warm Florida climate. We provide helpful resources and other lawn care products like grass plugs and NutriPod grass plug fertilizer to support your lawn’s growth. Whether you’re installing sod or maintaining your existing lawn, our experts are here to help. Visit our website for more lawn care tips.
