Troubleshooting Common Problems When Laying Sod
Jamie TedderInstalling new sod can transform your lawn into a lush, green landscape, offering several benefits, like improved water and air quality, cooler surroundings, and better soil erosion control. However, to reap these rewards, it's essential to ensure proper sod installation from the start.
Just as crucial as knowing how to install sod is being aware of common problems that may arise after installation, along with their potential causes and solutions. Identifying these issues early can help you maintain a healthy lawn that thrives for years. Most sod problems are fixable, so don't worry—this guide will help you troubleshoot common sod problems and keep your new lawn looking its best.
Identifying Common Sod Problems and How to Resolve Them
Sod installation is more than just placing fresh sod on the ground; it involves selecting the appropriate type of grass and providing the necessary care post-installation. If you're new to sod laying, be sure to check out our guide on how to lay sod for a detailed overview. Once your new grass is installed, be aware of the following common issues that may arise.
- Sod Turns Brown: Patches of browning or discoloration may suggest that your fresh sod is struggling to establish itself.
- Wilted or Dry Sod: Limp grass blades or a dry appearance suggest that your new sod is not receiving enough water.
- Uneven Growth: Areas of grass growing faster or healthier than others can signal underlying issues such as uneven watering patterns or varying sunlight exposure.
- Weed Growth: Existing weeds in your lawn that are not adequately removed during preparation can compete with your fresh grass for nutrients and water.

6 Potential Reasons and Resolutions
1. Poor Soil Preparation
Inadequate soil preparation can lead to several issues, including weed growth and poor rooting. These issues can also result from excessive thatch buildup, which may not be adequately removed, impairing sod-to-soil contact and inhibiting healthy growth.
Proper soil preparation begins with removing existing grass, rocks, and debris, then loosening and leveling the soil surface. Although optional, conducting a soil test can provide valuable insights, guiding fertilizer applications and amendments to improve soil quality. This thorough preparation creates a healthy growing environment and helps prevent future issues.
2. Soil Compaction
When soil is compacted, it becomes dense and hard, making it difficult for the roots to spread and absorb the necessary nutrients and moisture from the soil.
Combat this issue by aerating the soil before laying sod. Aeration involves creating holes in the soil, which improves drainage and allows roots to establish more effectively. This process helps your new grass develop deeper roots, increasing its ability to access water and nutrients and ultimately promoting a healthier lawn.
3. Poor Sod-to-Soil Contact
Gaps between sod pieces and the underlying soil can hinder root establishment, preventing your new grass from developing a solid foundation. Insufficient contact between the sod and soil limits the transfer of moisture and nutrients essential for healthy growth. Additionally, the air trapped in these gaps can dry out the sod, further slowing down root development and making it more difficult for the grass to establish itself.
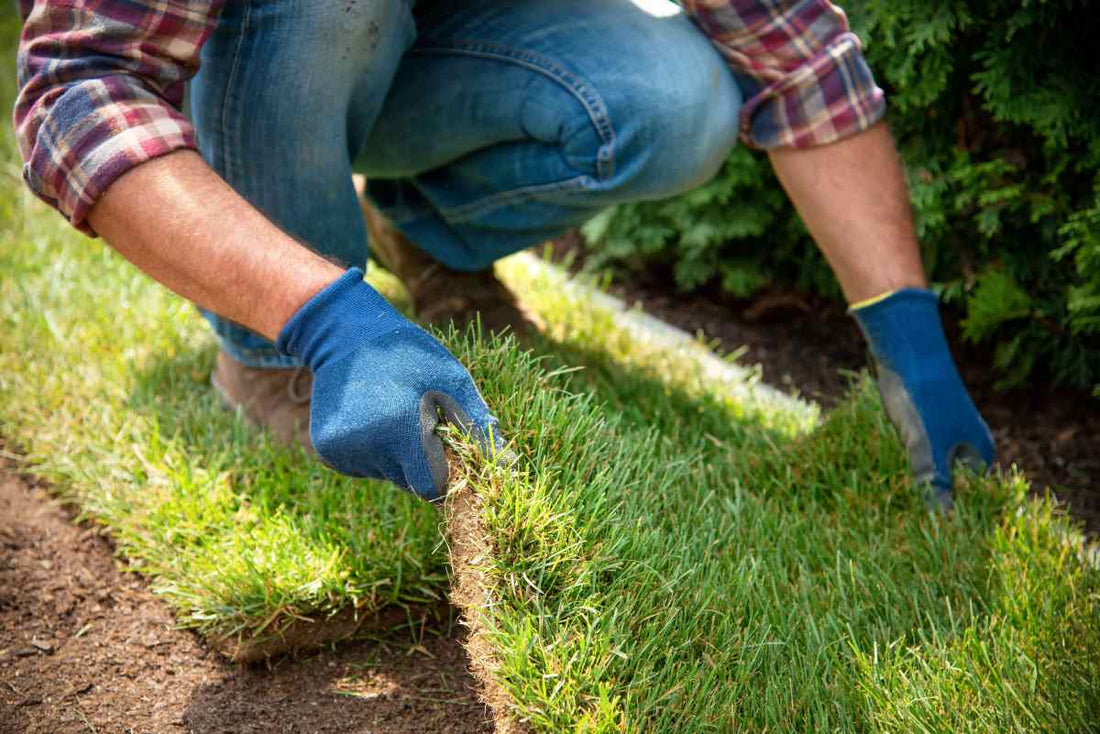
To ensure proper sod-to-soil contact, roll or press the sod firmly during installation to remove any air pockets. This step is crucial for fostering healthy growth, as it encourages the roots to penetrate the soil more effectively, establishing a healthy, resilient lawn.
4. Underwatering
Insufficient watering can lead to dry, wilted grass, posing risks of long-term damage. Newly laid sod requires consistent moisture during the establishment stage to develop its roots effectively.
Increase your watering frequency in the first few weeks following installation. As a general rule, water your sod lightly 2-3 times per day for the first 10–14 days, keeping the top few inches of soil moist. Once the sod begins to take root, you can reduce the frequency to once a day, applying 1-1.5 inches of water per week, either through rainfall or irrigation. Monitoring soil moisture levels by checking under the sod and ensuring it's damp but not soggy will help you provide the right amount of water without oversaturating.
5. Overwatering
While keeping your sod hydrated is essential, overwatering can suffocate the roots, leading to rot and other issues. Excess water prevents the roots from accessing the oxygen they need, ultimately damaging your new lawn.
Adjust your watering schedule to provide adequate moisture without oversaturation. Water deeply but less frequently, allowing the soil to dry slightly between watering sessions. This approach encourages deeper root growth and enhances overall lawn health. The same watering tips apply to grass plugs as well, as both require balanced moisture levels to thrive.
6. Mowing Too Short or Too Soon
Cutting your new grass too low or too soon can place undue stress on the lawn, hindering its growth and development. New sod needs time to establish itself before it can withstand the rigors of mowing.
Allow your sod to establish for about three weeks before mowing for the first time. Additionally, adjust your mower blades to the recommended height for your grass type. This practice promotes healthy growth and improves your lawn's resilience against environmental stressors.


